
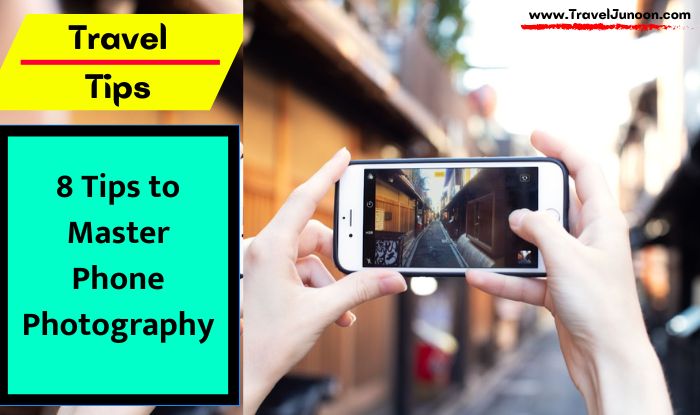
8 Tips to Master Phone Photography: A Guide for Agile Travellers
8 Tips to Master Phone Photography : Most of us want to try our hand at photography when we’re travelling to capture the joy of our trip with the click of a button. But is it possible to take high-quality images using just your smartphone? Absolutely!
In this article, we’ll share eight helpful tips for mastering phone photography for your holiday, from using underrated features to adjust exposure to creating a narrative that helps you relive it once you return home.
1.Think in Stories
When taking photos during your travels, try to capture a series of moments, not just the highlights of your trip. If you’re an aspiring content creator, this can help build a cohesive narrative for your social media accounts. But if you’re simply taking pictures to preserve your memories, you’ll love looking back on every aspect of your holiday. These days, it’s super simple to find your footing when it comes to telling a narrative through photos. Start with an Instagram story template where you can add text or iconography to help narrate your imagery voyage. The way Instagram, in particular, structures its story features helps you naturally capture, collage and present photos in a narrative through click-through, editing and text features.
Whether you’re posting daily updates for your followers by creating an Instagram story template, highlighting your own memories or taking travel photos to sell, thinking of your photos as a sequence can make your content more engaging and immersive.
2.Clean Your Lens
If you’ve ever seen an incredible photograph with the caption ‘shot on iPhone’, you may have wondered why your smartphone can’t seem to produce such amazing pictures. While it may sound obvious, a dirty phone camera lens is one of the most common reasons people end up with hazy photos.
Cleaning your lens is especially crucial when travelling in dusty or humid climates or when your phone has been bumping around your bag for ages. As an agile traveller and amateur photographer, you’ll find that microfiber cloths will become your favourite tool for keeping your lens dust and fingerprint-free.
3. Use Natural Light Whenever Possible
Bad lighting can ruin pictures – even those taken in your dream destination. Sunset Golden Hour is a phone photographer’s best friend. It drenches everything in a warm light that simply can’t be replicated by overhead or even ambient lighting. Even if you can’t shoot at sunset, it’s best to avoid the harsh light of midday, which can cause too many shadows or overexposure.
When photographing indoors, however, try to place the subject in front of a window and use the natural light shining through to illuminate them. Note that the subject should face the window, as having the window behind the subject will result in a poorly lit and unflattering photo.
4.Tap to Focus and Adjust Exposure
Both Android and iPhone users can use this underappreciated feature to ensure their phone camera is focused on a particular subject and that their photo is properly exposed. By tapping the subject on the viewing screen and pressing your finger down for a few seconds, you can lock focus on the subject, even as you move around to find the perfect shot.
You can follow the same steps to adjust the exposure, dragging the sunlight slider up or down for a brighter or dimmer photo. These features are critical for sharp, well-lit photos and make smartphone pictures indistinguishable from those taken with a traditional camera.
5.Embrace the Rule of Thirds
The rule of thirds can help make your pictures more visually balanced. When you activate the grid lines on your phone, the viewing screen will divide into nine equal squares. By placing your subject along the lines or at their intersections – ideally in the left or right third of the image – your picture will instantly have a more professional-looking composition.
You’ll find that this rule is basically universal and works for both indoor and outdoor shots of various proportions. Keep experimenting with it, and you’ll find the most optimal lines and framing to use for shots of all dimensions and lighting conditions.
6.Edit, Don’t Overfilter
We’ve all seen an otherwise beautiful picture ruined by too many filters. Filters can make a photo feel staged or fake and take away from the natural beauty of your destination. Instead, you can use the internal editing software on platforms like Instagram or an external app like Adobe Lightroom to adjust a picture’s contrast, vibrance, sharpness and more. This will keep your travel photos and memories feeling fresh and real while also accentuating their beauty.
6.Try Different Angles and Perspectives
Truly great photographers take great pictures because they explore different ways of seeing things. Keep your travel photos interesting by getting low and looking at the scene from a small child’s perspective, shooting from above to show a sweeping scene from a distance or capturing intricate details by getting close to your subject.
Some ideas you could try are taking a picture of your breakfast spread from a birdseye view or capturing the reflection of a city in a nearby river. This technique won’t just elevate your photography skills – it will help you appreciate the beauty of new perspectives.
7.Back It Up
Taking amazing photos isn’t enough. You have to preserve them, too. Use cloud storage or a hard drive to back up your shots, even ones that don’t make it to your Instagram feed right away.
You don’t want the loss or damage to your phone to mean losing the memories of your trip, so turning on the auto-sync backup feature on your phone can allow you to enjoy your trip with greater peace of mind.
8.Key Takeaways
You can take your phone photography from zero to hero with just a few simple steps, leaving you with beautifully captured memories from your travels. Make sure to take photos with a narrative in mind, whether that’s to share content with your followers or to simply remember every moment of your trip. You should clean dust and fingerprints from your lens before taking pictures to avoid haziness and optimize clarity and make use of natural light – ideally at golden hour – for beautifully lit photographs without the need for a studio.
Use your smartphone’s focus and exposure features for more control over the quality of your images and embrace the rule of thirds and your phone’s grid lines for visually balanced and appealing photos. Finally, edit your pictures to enhance their natural beauty rather than relying on filters and try taking pictures from different angles and perspectives – you never know what you’ll find!


